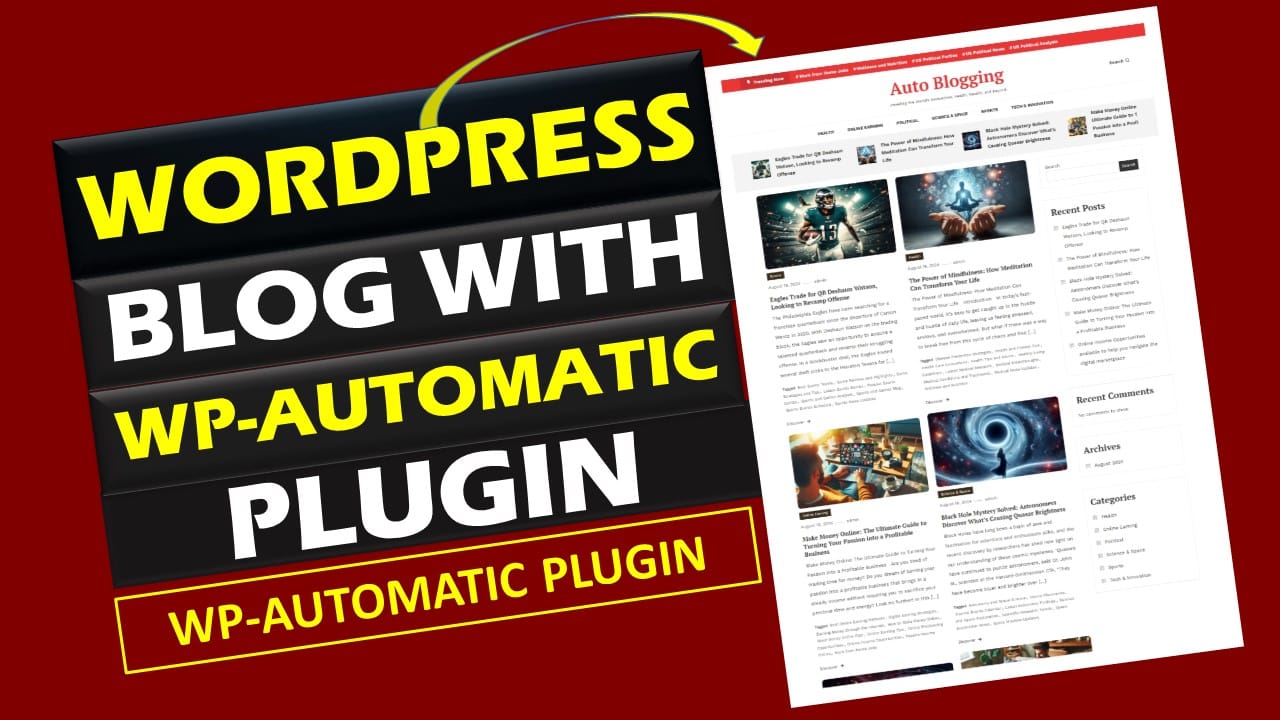
Are you ready to create a fully automated WordPress blog with AI-generated content using free hosting and a domain? This guide will show you how to set up a WordPress website on Pantheon.io, install AI-driven automation tools, and build a professional auto-blogging site for free.
What You’ll Learn:
- How to get free domain and hosting with Pantheon.io
- Install WordPress on Pantheon
- Set up an API key and connect AI tools to WordPress
- Automate blog post creation and image generation with AI
- Customize your site with categories, themes, and more
Step 1: Get Free Domain & Hosting with Pantheon.io
Pantheon.io is a great choice for hosting WordPress sites, offering powerful tools for developers and beginners alike.
- Sign Up on Pantheon.io:
Go to Pantheon.io, create an account, and select the option to start a free site. - Create a New Site:
Once you sign up, create a new site by following the prompts. You’ll be asked to choose a site name and confirm your site settings. - Connect a Custom Domain:
Pantheon offers free temporary domains for development, but you can also link a custom domain from a provider like Freenom.
Step 2: Install WordPress on Pantheon.io
Pantheon simplifies WordPress installation through their dashboard.
- Install WordPress:
After creating your site, Pantheon gives you the option to install WordPress directly. Choose WordPress from the available options and proceed with the installation. - Login to WordPress Dashboard:
Once WordPress is installed, access your dashboard by visitingyourdomain.pantheon.io/wp-adminand logging in with your admin credentials.
Step 3: Create an API Key & Install WP Automatic Plugin
To automate content generation, you’ll need the WP Automatic Plugin and an AI content tool.
- Create an AI API Key:
Register on platforms like OpenRouter AI to obtain an API key. - Install WP Automatic Plugin:
Click the link below (end of this post) to download the WP Automatic plugin, then install and activate it on your WordPress site. - Connect AI to WP Automatic Plugin:
In the plugin’s settings, you can integrate your AI API key to allow the plugin to pull AI-generated content.
Step 4: Set Up Categories & Customize Your Theme
Your blog’s structure and design are essential for user experience and content organization.
- Create Categories:
Go to ‘Posts > Categories’ and set up categories relevant to your blog’s niche, such as Tech, Health, or Travel. - Install & Activate a Theme:
Under ‘Appearance > Themes’, you can select and activate a theme. Consider lightweight themes like “Color MagazineX” or “News Blogger” for speed and customization. - Change Site Title & Tagline:
Go to ‘Settings > General’ to update your site’s title and tagline, making it match your blog’s content focus.
Step 5: Automate Blog Content with WP Automatic
Now that the plugin is installed, you can automate blog post generation.
- Create a Campaign in WP Automatic:
Open the WP Automatic plugin, create a new campaign, and select AI-generated content as your source. You can configure how often content is pulled and posted. - Generate Auto Blog Posts:
Once your campaign is set, WP Automatic will automatically generate posts based on the content you’ve configured.
Step 6: Add AI-Generated Images to Your Blog
Adding images can greatly enhance the appeal of your posts.
- Generate AI Images:
Go to Microsoft Bing Image Creator, which uses DALL·E to generate AI images. - Set Featured Images for Posts:
For each post, you can upload AI-generated images as featured images by using the ‘Featured Image’ section in the WordPress post editor.
Step 7: Final Customizations – Sidebar & Menus
Lastly, let’s fine-tune your site’s layout.
- Add a Sidebar:
Go to ‘Appearance > Widgets’ and configure your sidebar. You can add recent posts, categories, and other widgets to improve navigation. - Customize Menus:
Under ‘Appearance > Menus’, you can set up your site’s menu structure by adding links to your categories, pages, and more.
Final Thoughts
By following this guide, you’ll have a fully functional AI-powered WordPress blog up and running on Pantheon.io. Whether you want to automate your blog for a hobby or create content with minimal effort, this setup provides a cost-effective way to explore the world of AI-driven blogging.
Start your blogging journey now with a free domain, free hosting, and the power of AI!
Download Link:


