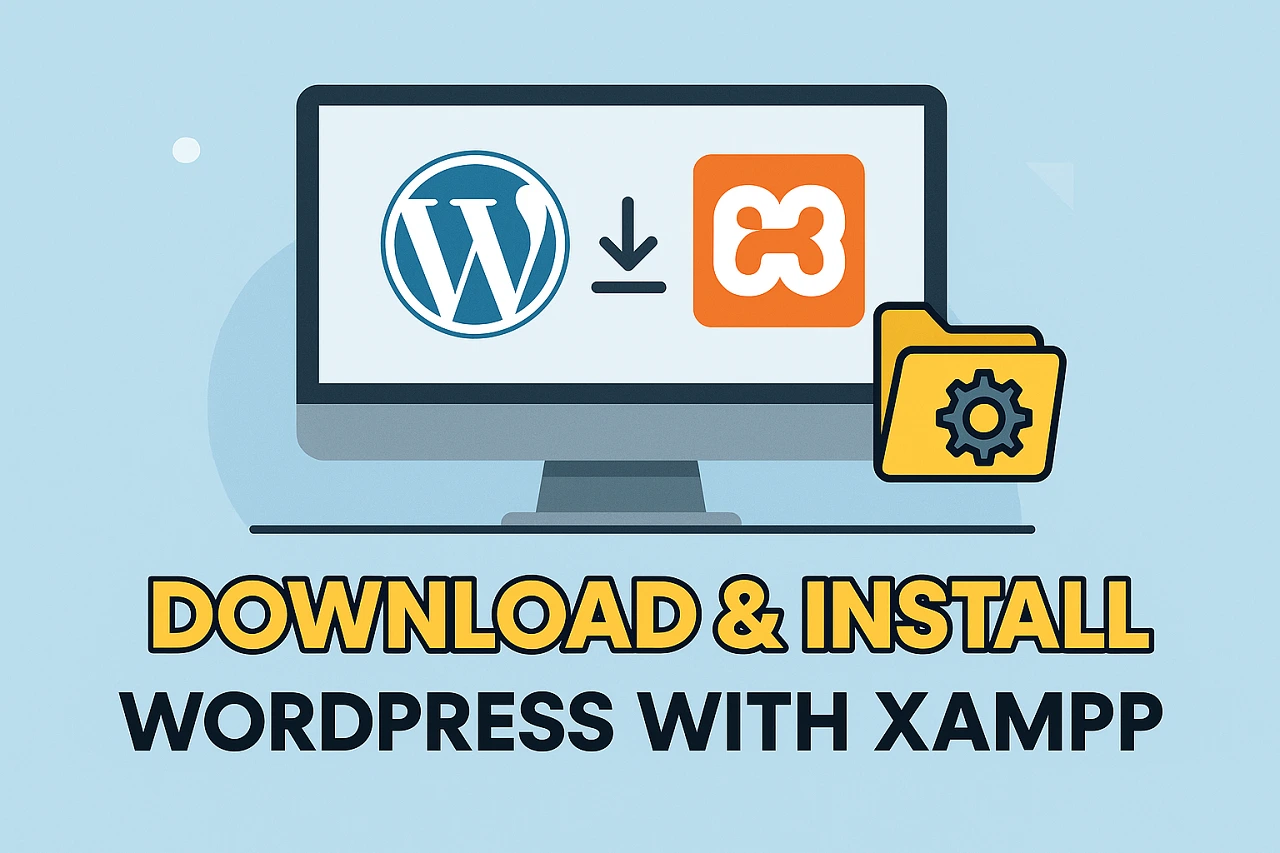
Running WordPress locally on your computer is the best way to develop and test your websites before going live. In this guide, you’ll learn how to install XAMPP and WordPress on your Windows or Mac system. We’ll walk through each step, from downloading XAMPP to accessing your local WordPress site via localhost.
What is XAMPP?
XAMPP is a free and open-source software package that includes:
X (Cross-platform)
Apache (Web server)
MySQL (Database)
PHP (Scripting language)
Perl
It turns your computer into a local server environment that lets you install and run PHP-based applications like WordPress.
Why Install WordPress Locally?
Installing WordPress on your local machine is useful for:
Developing and designing websites offline
Learning and testing WordPress without a hosting plan
Creating themes or plugins safely before publishing
Speeding up development without dealing with upload times
Step 1: Download and Install XAMPP
Where to Download XAMPP
Visit the official Apache Friends website:
1. https://www.apachefriends.org
OR
2. Click here to download from Google Drive
Download for Your Operating System
Choose the version of XAMPP compatible with your operating system (Windows, macOS, or Linux). For example, Windows users should download the XAMPP for Windows.
Installing XAMPP on Windows
Open the downloaded
.exefile.If Windows asks for permission, click Yes.
Follow the installation wizard:
Click Next
Choose components (keep default: Apache, MySQL, PHP)
Select the installation folder (e.g.,
C:\xampp)Uncheck the Bitnami option (optional)
Click Next and then Finish.
Starting XAMPP Control Panel
After installation:
Open the XAMPP Control Panel.
Click Start next to both Apache and MySQL modules.
Make sure both turn green, indicating they are running.
Step 2: Download and Set Up WordPress
Download WordPress
Go to the official WordPress site:
👉 https://wordpress.org/download/
Download the ZIP file of the latest version of WordPress.
Extract WordPress Files
Unzip the downloaded file.
Rename the folder to your site name (e.g.,
mytestsite).Move this folder to
C:\xampp\htdocs\(Windows) or/Applications/XAMPP/htdocs/(Mac).
Step 3: Create a Database for WordPress
Access phpMyAdmin
Open your browser and go to:
http://localhost/phpmyadmin/Click on Databases in the top menu.
Under “Create database,” enter a name like
mytestsite_db.Click Create. No need to change collation settings.
Step 4: Configure wp-config.php
Set Up WordPress Configuration
Navigate to your WordPress site folder inside
htdocs.Find the file named
wp-config-sample.php.Rename it to
wp-config.php.Open it in a text editor like Notepad++ or VS Code.
Locate the following lines and update them:
define('DB_NAME', 'mytestsite_db');
define('DB_USER', 'root');
define('DB_PASSWORD', '');
define('DB_HOST', 'localhost');
⚠️ Note: By default, XAMPP uses root as username and an empty password for MySQL.
Save and close the file.
Step 5: Install WordPress via Browser
Open your browser and visit:
http://localhost/mytestsite/Select your language and click Continue.
Enter your site details:
Site Title
Username
Password
Email
Click Install WordPress.
After successful installation, click Log In and enter your credentials.
Congratulations! 🎉 You now have a fully working local WordPress website.
Step 6: Common Troubleshooting Tips
Apache or MySQL Won’t Start
Port Conflict: Skype or another program may be using port 80 or 443.
Solution: Change Apache port in
httpd.confor close the conflicting program.
Firewall Blocking: Allow XAMPP through your firewall.
Can’t Access phpMyAdmin
Check if MySQL is running in XAMPP Control Panel.
Try accessing:
http://127.0.0.1/phpmyadmin/instead oflocalhost.
Bonus Tips for Better Local Development
Use Pretty URLs
Open your WordPress Dashboard.
Go to Settings > Permalinks.
Choose a structure like “Post name” and save changes.
Note: If permalinks don’t work, enable
mod_rewritein Apache and restart XAMPP.
Enable SSL on Localhost (Optional)
You can simulate HTTPS locally by configuring SSL certificates, but it’s only needed for advanced testing.
Installing WordPress locally using XAMPP is a great way to practice, experiment, and build sites without needing web hosting. Once your website is complete and fully tested, you can move it to a live server using a migration plugin like All-in-One WP Migration or Duplicator.
This setup is completely free and suitable for developers, students, and beginners alike. Now that you’ve learned how to install XAMPP and WordPress step by step, you can start building WordPress sites with confidence.
Frequently Asked Questions (FAQs)
How do I install WordPress on XAMPP?
To install WordPress on XAMPP, download and install XAMPP, start Apache and MySQL, create a database in phpMyAdmin, extract the WordPress files into the htdocs folder, and run the setup by visiting localhost/your-site-name in your browser. You’ll configure WordPress and complete the installation through a simple wizard.
What is XAMPP used for in WordPress?
XAMPP provides a local web server environment (Apache, MySQL, PHP) that mimics a live server. It allows you to install and run WordPress on your own computer without internet access.
Can I use WordPress without buying hosting?
Yes, you can install WordPress locally on your computer using XAMPP or similar software. This allows you to build and test your site offline before moving it to live hosting.
Where should I place the WordPress folder in XAMPP?
Place the unzipped WordPress folder inside the htdocs directory within your XAMPP installation folder. For example:C:\xampp\htdocs\mywebsite
How do I access my local WordPress site?
Once WordPress is installed locally with XAMPP, open your browser and go to:http://localhost/mywebsite/
Replace mywebsite with your folder name inside htdocs.
Can I create multiple WordPress sites with XAMPP?
Yes. You can create multiple WordPress sites by adding separate folders in the htdocs directory and creating a unique database for each in phpMyAdmin.
Do I need an internet connection to run WordPress with XAMPP?
No, you only need an internet connection to download XAMPP and WordPress. Once installed, you can work on your WordPress site completely offline.